Showing posts with label matryoshka. Show all posts

Sunday, 17 February 2013

3 little things


One week, three tiny joys.


1. Free shoes!!


When Blowfish offered to send me a free pair of their new Spring season shoes to showcase on my blog I said "HELL YEAH!"
They arrived last week and they are beautiful.
Keep your eyes peeled for my first ever style post next week. 
 (not a direction I ever thought of taking on this blog but what girl can turn down a  free pair of shoes? 
"Not I", said the cat.)


2. Breakfast of champions


Lately this chilly season has me reaching for the kind of tasty comfort foods that are usually bad but oh... so good!
I've been treating myself these cold winter mornings to a breakfast of creamy chocolate milk and tuna and mayonnaise samgak kimbap, or triangle kimbap, which is basically rice wrapped in dried seaweed with a tuna and mayonnaise centre.
I know everything about this breakfast sounds wrong, but trust me, it's delicious!


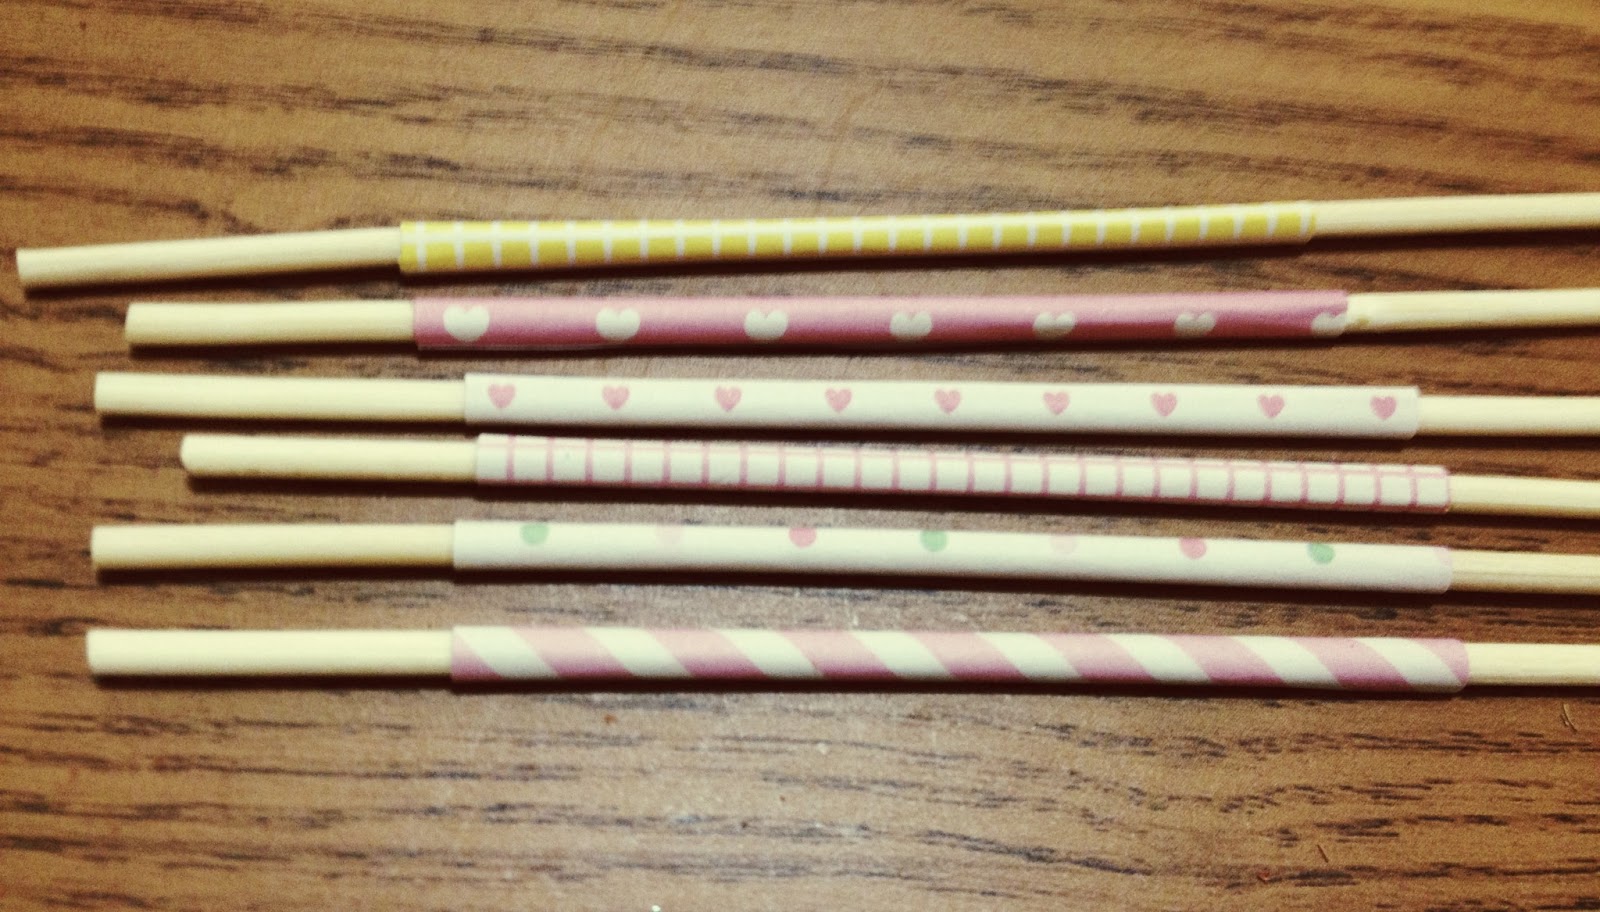
3. Baby Wig Wams for my baby matryoshkas


I found the template for these adorable paper craft teepees on the same site I found the printable feathers for my cupid's arrow diy post.
Just so happens they are the perfect size to house my ceramic matryoshka beads.
Tiny joys, friends, tiny joys.

~.^ 


Wednesday, 13 February 2013

a sponsored post: DIY cupid's arrows


The happiest of Valentine's Days to all of you gorgeous people  
The old lady who lives inside me who loves to stitch and sew and make things with little glass beads rocked a little faster back n forth in her rocking chair when the lovely people at online craft supply store Wholeport offered to send me a parcel of goodies to craft with ^^

Among other pretty little doo-dads they sent me this lovely packet of masking stickers~ this is basically the sticker version of the Japanese washi tape that has been taking the crafting world by storm.


I've been wanting to use washi tape in a DIY post for a while now and the love-heart decoration on these gave me the inspiration to make these sweet-as-can-be Valentine's cupid arrows to give to your sweetheart on Valentine's day.


Behold the materials:
~ feathers (I searched high and low for craft feathers but they are apparently a rarity in Korea , so I made do with this feather printable)
~ washi tape/decorative sticker strips from Wholeport
~ bamboo sticks
~ craft wood chips (I sifted through untill I found some that resembled the shape of arrow heads)


Step 1:
Take a strip of decorative tape and carefully wrap it around one end of your bamboo stick. Repeat until you have an assortment of decorated sticks.


Step 2:
Gather together a sprig of  3 or 4 feathers.
Or in my case if you are using the feather printable, cut out a bunch of feathers.


Step 3:
Use invisible tape to attach your feathers to the decorated end of your bamboo stick.


Step 4:
Using a glue gun apply a small amount of hot glue to the bare end of your bamboo stick and attach your wood chip.


And you are DONE!
You can give your Valentine an arrow along with their card or, like me, use them as a wall decoration!
Lemon squeezy.


A special thank you to the wonderful folks at Wholeport craft suppliers for sponsoring this post. 
Check their site out for cute and extremely affordable crafting treats~ I have my eye on their beautiful selection of beads and feathers ^^


Thursday, 27 December 2012

3 little things//matryoshka love


Nesting doll, Russian doll, Babushka, Matryoshka...
These beautifully rotund and rosy-cheeked peasant women hide under many pseudonyms but no matter what you like to call them their quirkiness and cute cannot be denied.

Their colorful hand-painted flower designs, so detailed right down to the tiny baby doll-prize in the centre, are one of my favorite aspects of these wooden creations.

When I visited home last Christmas I brought my little cousin up to my bedroom and had the pleasure of peeking through a 5 year old's mind when reacting to my Matryoshka: "a doll, inside a doll, inside a doll!"

The history behind these dolls is also so interesting: "Matryoshka" comes from the latin "Mater" meaning "Mother", so these plump and colorful Earth Mothers are actually symbolic of family and fertility.

I've built up quite the collection of all things Russian Doll-related and lucky for me Korean stationers love to use these purdy doll designs on their paper goods!


1. Matryoshka Card & envelope


I bought several of these card sets when I discovered them in the Lotte stationary store~ what's even cuter is that the card opens out to reveal more Matryoshka's "nesting" inside it ^^


 2. Matryoshka post-it memos


Another stationary store find. 
5 cute little post-it stickers with different colorful little mamas on each one!

3. Matryoshka ceramic jewelry beads


I found these three little darlings in a Christmas package my Mom sent which was full of wooden, glass and ceramic beads for jewelry making.
What do you think for these~ necklace or bracelet?

Thursday, 11 October 2012

Matryoshka Doll Eraser Stamp D.I.Y


This craft was inspired by my love/obsession with the purdiest of the doll family~ the Russian Matryoshka doll.
A lifetime ago an ex boyfriend of mine visited Russia and brought me home one of these dolls as a gift and I was smitten.
 You can see her in this post
I love the beautiful design and artistry that goes into the painting of these lovely mamas and their symbolism of family and motherhood.

Now, I've never tried my hand at stamp making before but I really fancied a Russian doll stamp to customize my stationary with but I didn't want to go ordering one from Etsy.
Solution: Make my own!

If you're still with me, let's begin....


1. Materials needed: a printout of some simple doll designs I downloaded from the interent, an extra large rubber eraser, an exacto knife, linoleum cutter and black ink pen.

2. First, I chose the doll image I wanted to transfer on to my stamp and traced it with a very firm hand with a black ink pen so that when i removed the paper the image was transferred onto the eraser. Add details to your outline with black pen by hand.

3. Take your exacto knife and carefully carve all around the edge of your doll design. Then cut around the edge of your eraser and cut in as deep as the doll edge, removing all excess rubber.

4. The HARD part! Now it's time to carve the detail of your dolls face and dress. This was time consuming and difficult and involved a lot of cutting and gouging to get the details that I wanted. 

5. The end result! I wasn't 100% happy with my dolls face but carving such tiny details is extremely hard and maybe I didn't have the right tools. however, for my first try I don't think she's too crumby. She's quirky and off-kilter and flawed. Much like a lot of my favorite people! 
She's doing a fine job of prettying up my tags and envelopes ^^

Try this DIY? I'd love to see your results! Link with love below~ x